Showing posts with label Splitcoaststampers. Show all posts

Sunday, July 15, 2018

Magically Masked - CTMH Technique Blog Hop

As mentioned in a post a few days ago, I recently signed up for an Artist Trading Card (ATC) Swap on Splitcoaststampers
I've been a fan of the Splitcoaststampers forums for swapping for years. 

For the ATC Swap, there are 4 categories. 
They are Vintage, Disney, Shades of  1 Color, and Bugs/Insects. 

So I present to you one of the 4 Artist Trading Cards for the Vintage category. 
"Vintage Buggie"


I chose this artistic style to highlight the "Magically Masked" technique for this month's Blog Hop. 


I used nearly all Close to my Heart products for them.

The "Good Times" sentiment and the Volkswagon Beetle are from the
When you purchase $50 in products you can purchase
"Highlight Reel" for only $5!


There are also 9 other Close to my Heart Consultants 

sharing their amazing artwork with you, 
so please be sure to make your way around the entire Blog Hop. 
You are going to love this month's artwork!

If you are coming from Wendy's Blog, you are on the right track.
Should you get lost along the way, all participant's links can be found here. 

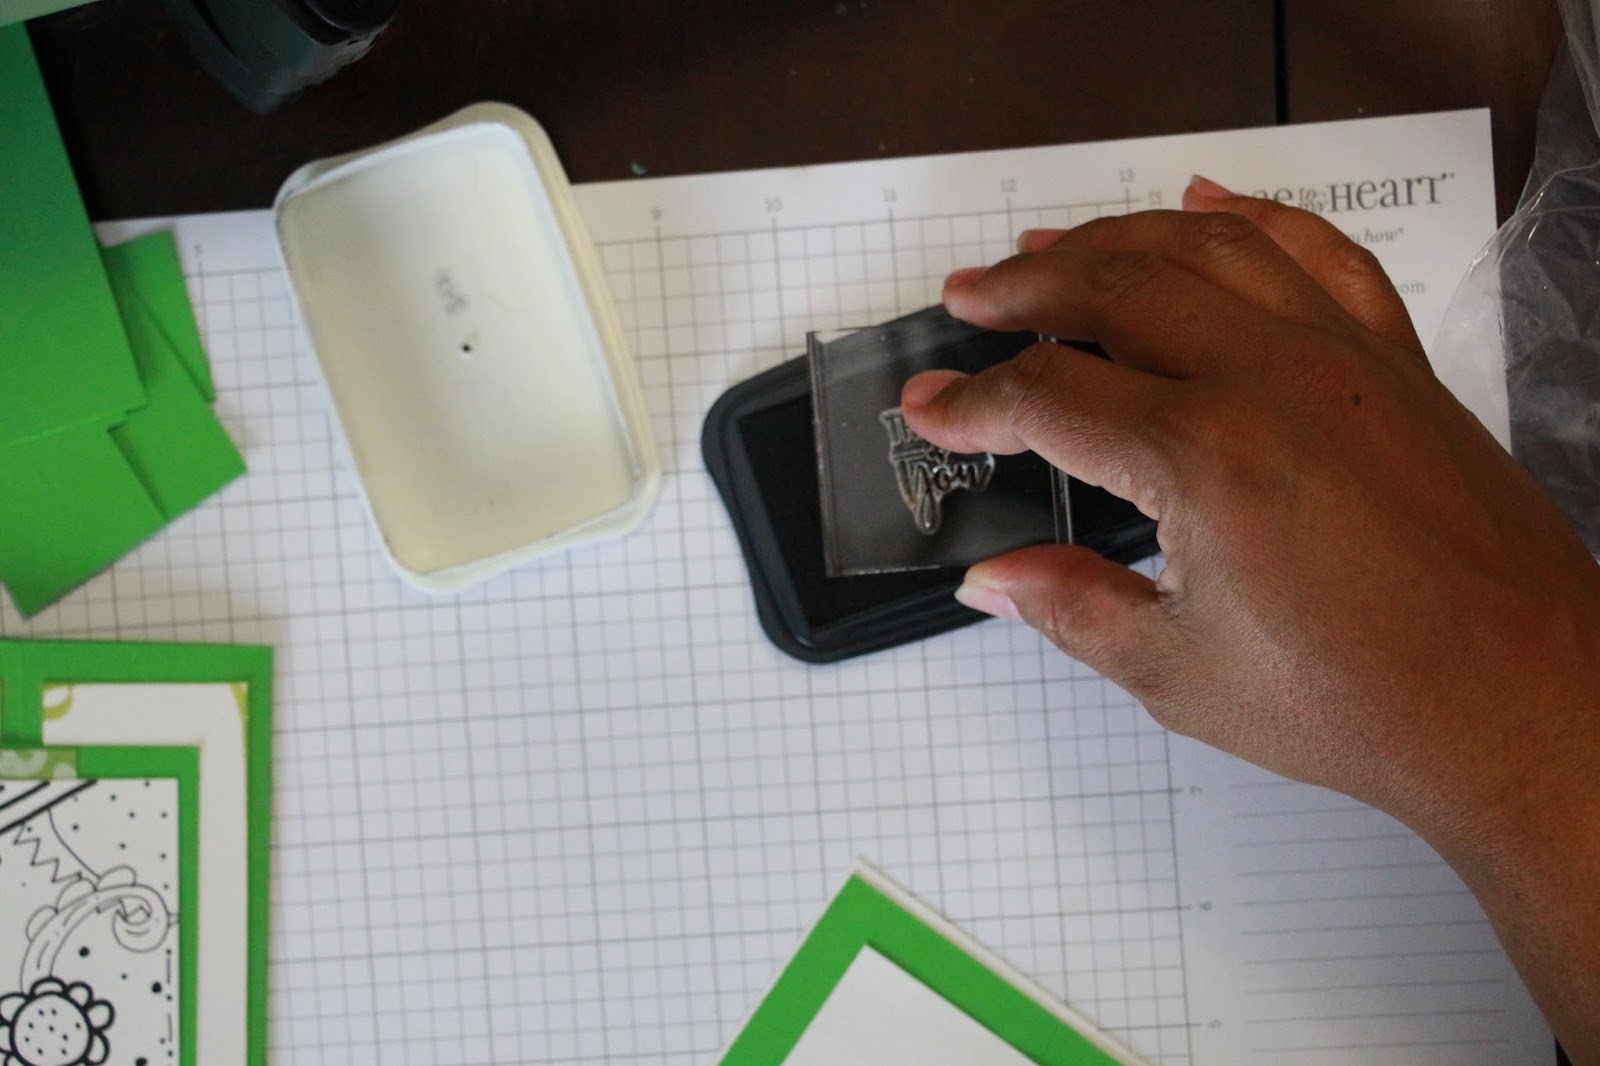
On White Daisy cardstock, I stamped the sentiment first, in Saffron ink
I then masked the sentiment and stamped each Beetle in Memento Tuxedo Black ink.

I then colored each Beetle in with Copics. 

I mounted the White Daisy piece to a piece of Tangerine cardstock.

I then used Tangerine ink to distress the edges of the front of the card 
and mounted the card onto chipboard. 


Then on the back, I mounted a piece of Tangerine cardstock. 
Then used my ATC information stamp on the back on White Daisy cardstock. 
I also distressed the information portion of the back with Tangerine Ink as well. 

Thank you so much for stopping by, before heading over to Sarah's Blog, please consider leaving a comment and enjoy the rest of the creative talents in this month's Blog Hop! 


Monday, July 9, 2018

Disney's Up Themed Artist Trading Cards For An ATC Swap

So earlier this weekend, I signed up for an Artist Trading Card (ATC) Swap on Splitcoaststampers
Splitcoaststampers has been my go to for swaps for years. 

For the ATC Swap, there are 4 categories. 
They are Vintage, Disney, Shades of  1 Color, and Bugs/Insects. 

So since my time tends to be limited, I decided to go ahead and get started. 
Well we all know I am a major Disney fan, so of course that is the category I completed first!

So I present to you my 3 Artist Trading Cards for the Disney category. 


They are titled "Up Fan Art", I made only 3. 
In hindsight, I should have made a 4th for myself. 
But it's okay, I am just happy that the picture in my mind, turned out the way I wanted them to.

I used nearly all Close to my Heart products for them.

The house and balloons are from the July Stamp of the Month "Highlight Reel"
When you purchase $50 in products you can purchase "Highlight Reel" for only $5!

(#1 of 3)

On White Daisy cardstock, the house is stamped in Toffee ink. 
The balloons were stamped in Archival Black Ink

The balloons are masked to create varying amounts. 
Then colored in with Copics. 
I then used a Clear Shimmer Brush to give them some shine. 

(#2 of 3)

The cliff, and waterfall were drawn with a pen. 
Then colored with Copics. 
I added Liquid Glass on top of the waterfall, to make the water really stand out.

(#3 of 3)


I used the Pen Pal alphabet set to stamp UP. 
The UP is stamped on Lagoon cardstock, with Tuxedo Black Memento Ink
I then dovetailed the cardstock, then mounted it on dimensional tape. 

I then used Pacifica Ink to distress the edges of the front of the card.
I mounted the card onto chipboard. 

(Back of all Three Cards)

Then on the back, I mounted a piece of Sapphire cardstock
Then used a stamp I found while in Las Vegas, that is made specifically for ATCs. 
I also distressed the information portion of the back with Pacifica Ink as well. 

Tuesday, July 11, 2017

A Birthday Card...

Generally throughout the year, I go through Birthday cards and thank you cards for my customers pretty quickly. Because I sell Close to my Heart products, Uppercase Living, and Tastefully Simple, I am constantly sending cards out. I love sending my customers birthday cards. 

So typically  few times a year I will participate ins swaps so that not only do I receive great cards that I can give, but I can also C.A.S.E. them and create mew ones later. 


So this morning after I finished my children's birthday cards, I created the adult female ones for a recent swap I signed up for over at Splitcoaststampers


This card was relatively quick to make. I love the bright orangeish patterned paper at the top, it reminds me of the summer sunshine shining down on the flowers.  I added Rhinestones to the center of each flower for a little sparkle. The inside white layer is sponged with ink as well for a little character. The sentiment on the inside is stamped with Memento Tuxedo Black Ink


I also submitted this card to a few Challenges:


My Little Man Will Be Turning One In A Few Months...


So as many of you know, I am a mom of 7 children. We have six daughters and one very special little boy. He is the baby and my heart for sure. Well that little baby will be turning 1 in just a few short months. I have no idea where this last year has gone, however I have started trying to plan his birthday party.  


So for his 1st birthday, we decided to go with a Cowboy theme. I knew that one day If I ever had a boy, eventually one of his birthdays would be Western/Cowboy, so I purchased this set and held onto it. 

Just so happens I have recently joined a few more swaps...

So I decided to pull out that set and play. I ended up creating a few Western/Cowboy themed elements for his birthday pictures to go in his first year album.  I will of course post pictures of those later. 
However, for this card, I kept things rather simple. A few layers, some sponging around the edges. I added eyelets in the corner for my embellishments. I used Memento Tuxedo Black Ink for the Birthday sentiment and for the cowboy hat outline. I hand cut the cowboy hat out.   You will notice I made two different styles as well. 

These cards were made for "children's birthday" swap over at Splitcoaststampers


The inside is just a layer of white cardstock with some sponging as well. 


I chose to submit this card to a few Challenges as well:


Tuesday, July 4, 2017

My "Red" Cards for the Rainbow Swap at Splitcoaststampers

Yesterday, you had an opportunity to see my "Green" cards,  for the Rainbow Card Swap over at Splitcoaststampers. Today I present to you, my "Red" cards. 

Originally, I had planned to go with a Christmas theme, since you know it's already July, and Christmas will be upon us before you know it... However, as I was reorganizing some paper kits and what not, I came across a pack of paper, that I just had to use. 

For this swap, all 8 cards are different, but for the most part they have the same basic components. They are all stamped with the same sentiment from Close to my Heart. I used the "Just for You" stamp from the Petite Perks set "Just For You". They were all stamped using Memento Tuxedo Black Ink. All of them have a white or beige layer inside for the sender to write a message. 

Here is my main card, I am submitting for a few Challenges as well...


The challenges are:


Here are a few extra photos of some of the other 7 cards. 


I hope the other ladies in the group enjoy them. 

Slide-Out Panel Card for a Splitcoaststampers Swap

Hope you are enjoying this beautiful summer weather, especially here in the South. 
This week, I signed up for a few swaps, and decided to enter a few challenges. 
What better way to get the job done? Combine the tasks! 

So here is a tutorial on how I created my Slide-Out Panel Card. I'm sure there are other ways to create these, but this was the easiest for me. I needed to make 8 cards focusing on the color green for the Rainbow Swap on Splitcoaststampers. Typically unless it is a requirement, I try to make the cards all sightly different. So not all 8 follow this design. 

Shall we begin?

If you follow me on my Youtube Channel, you may have seen a green card I created using hand drawn doodling. The accent piece on the front of this card, was made using that technique. The doodling on white cardstock is a great way to create your own One-Sheet-Wonder. I simply cut the doodling, then matted that piece onto a piece of green cardstock. That rectangle was then layered onto a piece of patterned paper. Total it measured about 3 3/4 inches tall and about 3 inches wide. 


After adhering each piece, I added a Rhinestone Brad and a Fabric Flower for my embellishments.


Now for the card base, I started off with my 8 1/2 inches x 11 inches cardstock in the portrait position, scoring my green cardstock at 2 1/8 inches, flip to the opposite side and score again at 2 1/8 inches. I then turn the cardstock in the landscape position and cut at 5 1/2 inches. If you have ever created a Gatefold Card, this is pretty much the same measurements.


I now have two card bases, just as if I was creating a traditional 4 1/4 inch x 5 1/2 inch card. This completed card will measure roughly the same as well. Fold on the score lines.


Next I created the front panels for the card. These are cut at about 1 3/4 inches wide by 4 inches tall. I took a marker and adding some distressing ink around the edges just for a little character. A sponge would have been nice to use as well. 


I just used regular adhesive to mount the panels to the front of the card. 


Once I mounted the panels I then mounted the accent piece for the front. Normally with a Gatefold card you just add adhesive to one side of the backside of the accent piece. With this, I added it to both sides, so that the accent piece "closed" the card. 

Next I needed to create the inside Panel, for the sentiment and space to write. Now this piece I had to play with a bit to get the measurements close to the front of the card, yet still have space for the pull tab without making it too big to fit in a regular envelope. You may have to play with this as well to ensure a fit or make your own envelope. 

 It pretty much is three layers of cardstock, two white and one green. The larger white is about 4 inches x 5 1/4 inches. The green is just slightly smaller, and the top white piece, you could make just about any size that fits within the other two. The little pull tab is about 1/2 inch-3/4 inch wide and about 2 1/4 inches long. Really this could be just about any size. Just make sure when you adhere it, the part sticking out isn't so far that you can't get the entire card into an envelope.


So far, so good, now we just need the sentiment. 


I chose to use Memento Tuxedo Black Ink. The stamp is the "Thinking of you" stamp from the Close to my Heart, Petite Perks set "Just for You". This is a stamp set, I usually give all of my hostesses free and customers that shop with me regularly. It's a cute little set with 4 different greetings.


Once you finish stamping the sentiment on the panel. Simply slide it into the case we created. 

Here is the completed card. 


I hope this tutorial was helpful, please let me know if you have any questions at all. 

This card was created to also meet the guidelines for the following challenges: