Showing posts with label Scrapbooking Tips. Show all posts

Wednesday, December 4, 2024

Tips for Creating Eye-Catching Titles for Your Scrapbook Pages!

A great scrapbook title sets the tone for your page and ties your theme together. Whether you're creating a bold focal point or a subtle accent, your title is one of the most important design elements on the layout. Here are my top tips to help you craft creative, eye-catching titles for your scrapbook pages.

1. Match Your Title to the Theme

Think of your title as the headline for your page. It should reflect the story you’re telling. For example:

A Christmas layout could feature titles like “Merry & Bright” or “Twas the Night Before…”

A beach vacation page might use “Sandy Toes & Salty Kisses” or “Ocean Bliss.”
Choose words or phrases that evoke the feelings of your photos!


2. Experiment with Fonts and Lettering

Fonts can completely change the mood of your title. Play with different styles:

Playful fonts for kids' layouts.

Elegant script fonts for weddings or formal events.

Chunky block letters for bold, high-impact titles.


If you’re handwriting your title, try brush lettering or doodling around the edges for a custom look!

3. Use Die-Cuts, Stamps, or Stickers

Alphabets and die-cut titles are quick and easy ways to create polished titles. Mix and match different letter styles, sizes, or textures for added interest. For example, try combining chipboard letters with stamped words for a unique touch.

4. Add Dimension with Layers

Make your title pop by layering! Add foam adhesive behind your letters or layer them over washi tape, patterned paper strips, or tags. This gives your title depth and makes it stand out on the page.

5. Use Creative Shapes and Materials

Think beyond traditional straight lines! Curve your title around a circle, wave it across a banner, or arrange it in a diagonal line. Experiment with fun materials like glitter paper, vellum, or fabric to make your title extra special.

6. Incorporate Your Photos

For a fun twist, integrate your title into the photo itself. Use photo editing software to overlay text or let your photos inspire the placement and design of your title.

7. Keep It Balanced

Make sure your title fits the layout and doesn’t overwhelm the page. If your photos or embellishments are busy, opt for a simpler title design. Conversely, a bold, oversized title can help fill space on a minimalist layout.

8. Don’t Be Afraid to Get Punny

A clever pun or play on words can add humor or charm to your scrapbook. Think “Paws-itively Adorable” for pet photos or “A Latte Love” for coffee moments.

9. Practice Placement

Before committing, play around with the placement of your title. Do you want it at the top of the page, along the side, or as a central focal point? Experiment until it feels right for the overall design.

10. Make It Personal

Lastly, let your title reflect your personality and style. Whether you’re all about simplicity or love bold, artistic designs, your title should feel uniquely you.

Titles are more than just words—they’re the gateway to your scrapbook story. Try out these tips, and don’t be afraid to experiment. Most importantly, have fun creating layouts that celebrate your memories!

What are your favorite tips for crafting titles? Share them below—I’d love to hear your ideas!

Happy scrapbooking!
Marciava

Saturday, August 10, 2024

Making the Most of What You Already Have


As scrapbookers, we all know the thrill of getting our hands on new supplies. The scent of fresh paper, the shimmer of a new set of embellishments, and the endless creative possibilities that new tools offer are undeniably exciting. But what if I told you that some of the most fulfilling and innovative layouts can be created using the supplies you already have?


In a world that constantly pushes us to buy the latest and greatest, there’s something incredibly satisfying about taking a step back, revisiting your existing stash, and challenging yourself to create something beautiful with what you’ve got. Here’s why you should give it a try:

Rediscover Hidden Treasures
Your scrapbooking supplies are a reflection of your journey as a creator. Over time, we all accumulate papers, stickers, and embellishments that we’ve either forgotten about or set aside for “the perfect project.” By digging through your existing collection, you might find hidden gems that inspire a completely new idea or bring back memories of past layouts.

Challenge Your Creativity
Working within the constraints of your current stash can be a fun and rewarding creative challenge. It pushes you to think outside the box, mix and match supplies in unexpected ways, and discover new techniques. Sometimes, the best designs come from having to make do with what’s at hand rather than having endless options.

Reduce Clutter and Save Money
We’ve all been there: a crafting space overflowing with supplies that haven’t been touched in months. Using what you already have not only helps reduce clutter but also saves you money. Instead of spending on new supplies, you can invest your time in creating and enjoying the process without the guilt of unused purchases piling up.

Focus on the Stories
Scrapbooking is ultimately about preserving memories and telling stories. When you focus on using the supplies you already have, it shifts the emphasis from acquiring new things to truly cherishing and highlighting the memories you want to preserve. The story becomes the centerpiece of your layout, with your existing supplies playing a supporting role.

Feel Good About Sustainability
In a world where sustainability is becoming increasingly important, making the most of your current supplies is a small but meaningful step toward reducing waste. By using what you have, you’re contributing to a more eco-friendly approach to crafting, which is something to feel good about.

Tips for Getting Started:
- Organize Your Stash: Take some time to sort through your supplies. You might be surprised at what you find and inspired to start right away.
- Set a Challenge: Give yourself a creative prompt, such as using only a certain color scheme, or trying a new technique with the materials you have.
- Mix Old with New: If you do decide to purchase something new, try to integrate it with your existing supplies to create a cohesive design.
- Share Your Creations: Join a community of like-minded scrapbookers who are also embracing the challenge of using what they have. Sharing your work can inspire others and keep you motivated.

Remember, scrapbooking isn’t about having the latest supplies; it’s about capturing and celebrating life’s precious moments. So, the next time you sit down to create, consider reaching for what you already have on hand. You might just be amazed at what you can create when you allow yourself to be resourceful and creative with the materials you already love.

Happy crafting!

Friday, July 5, 2024

July 2024 Sketch of the Month

As summer reaches its peak, many of us are drawn to the tranquil beauty of the ocean and the adventure of cruising. This July, our Scrapbooking Sketch of the Month captures the essence of these experiences with a theme that evokes the serenity of the sea and the excitement of exploring new horizons.

This month’s sketch features a dynamic layout that brings the ocean to life on your scrapbook pages. With ample space for photos and embellishments, this design allows you to showcase your favorite moments from your ocean adventures.

The sketch includes:
-Two large central photos: Perfect for a stunning sunset, a ship on the horizon, or a family portrait on deck.

-Several smaller side photos: Ideal for close-up shots of sea life, on-board activities, or picturesque beach scenes.

- Wave-inspired borders: These wavy lines create a sense of movement, mimicking the gentle roll of the ocean waves.

- Nautical embellishments: Anchors, ship wheels, and florals add a maritime touch to your layout.

Bringing the Sketch to Life

Choose Your Color Palette: Stick to oceanic hues like deep blues, sea greens, and sandy beiges. These colors will tie your page together and enhance the nautical theme.

Select Your Photos: Highlight your favorite cruise moments. Think about the different aspects of your trip – from the ship itself to the exotic destinations you visited, the new friends you made, and the unforgettable experiences you shared.

Add Texture: Use materials that evoke the feeling of the sea, such as textured papers that resemble waves or sand. You can also incorporate elements like twine, netting, or even small shells.

Embellish Thoughtfully: Choose embellishments that complement your photos without overpowering them. A few well-placed accents, like a glittery starfish or a vintage map, can enhance the theme and draw attention to key elements of your layout.


Tips for a Stunning Scrapbook Page

- Balance Your Layout: Ensure that your elements are evenly distributed across the page. This will help create a cohesive and visually appealing design.

- Layer Your Elements: Add depth to your page by layering papers, photos, and embellishments. This technique adds dimension and interest to your layout.

- Tell Your Story: Include journaling to capture the memories and emotions of your trip. Whether it's a brief caption or a longer narrative, your words will bring your photos to life.

As you dive into this month's sketch, let the ocean inspire you. Whether you're reminiscing about a recent cruise or dreaming of future adventures, this layout is the perfect way to preserve those precious memories.

Happy scrapbooking!

Friday, February 2, 2024

Unleashing the Magic: Tips for Scrapbooking Your Vacation

 Unleashing the Magic: Tips for Scrapbooking Your Vacation


Are you eager to encapsulate the memories of your recent vacation in a creative and timeless way? Look no further than scrapbooking, a delightful craft that allows you to transform your travel experiences into tangible keepsakes. Today, I'll guide you through the process with several invaluable tips, answering your burning questions along the way.

Where Do I Start?

Choose a Theme:

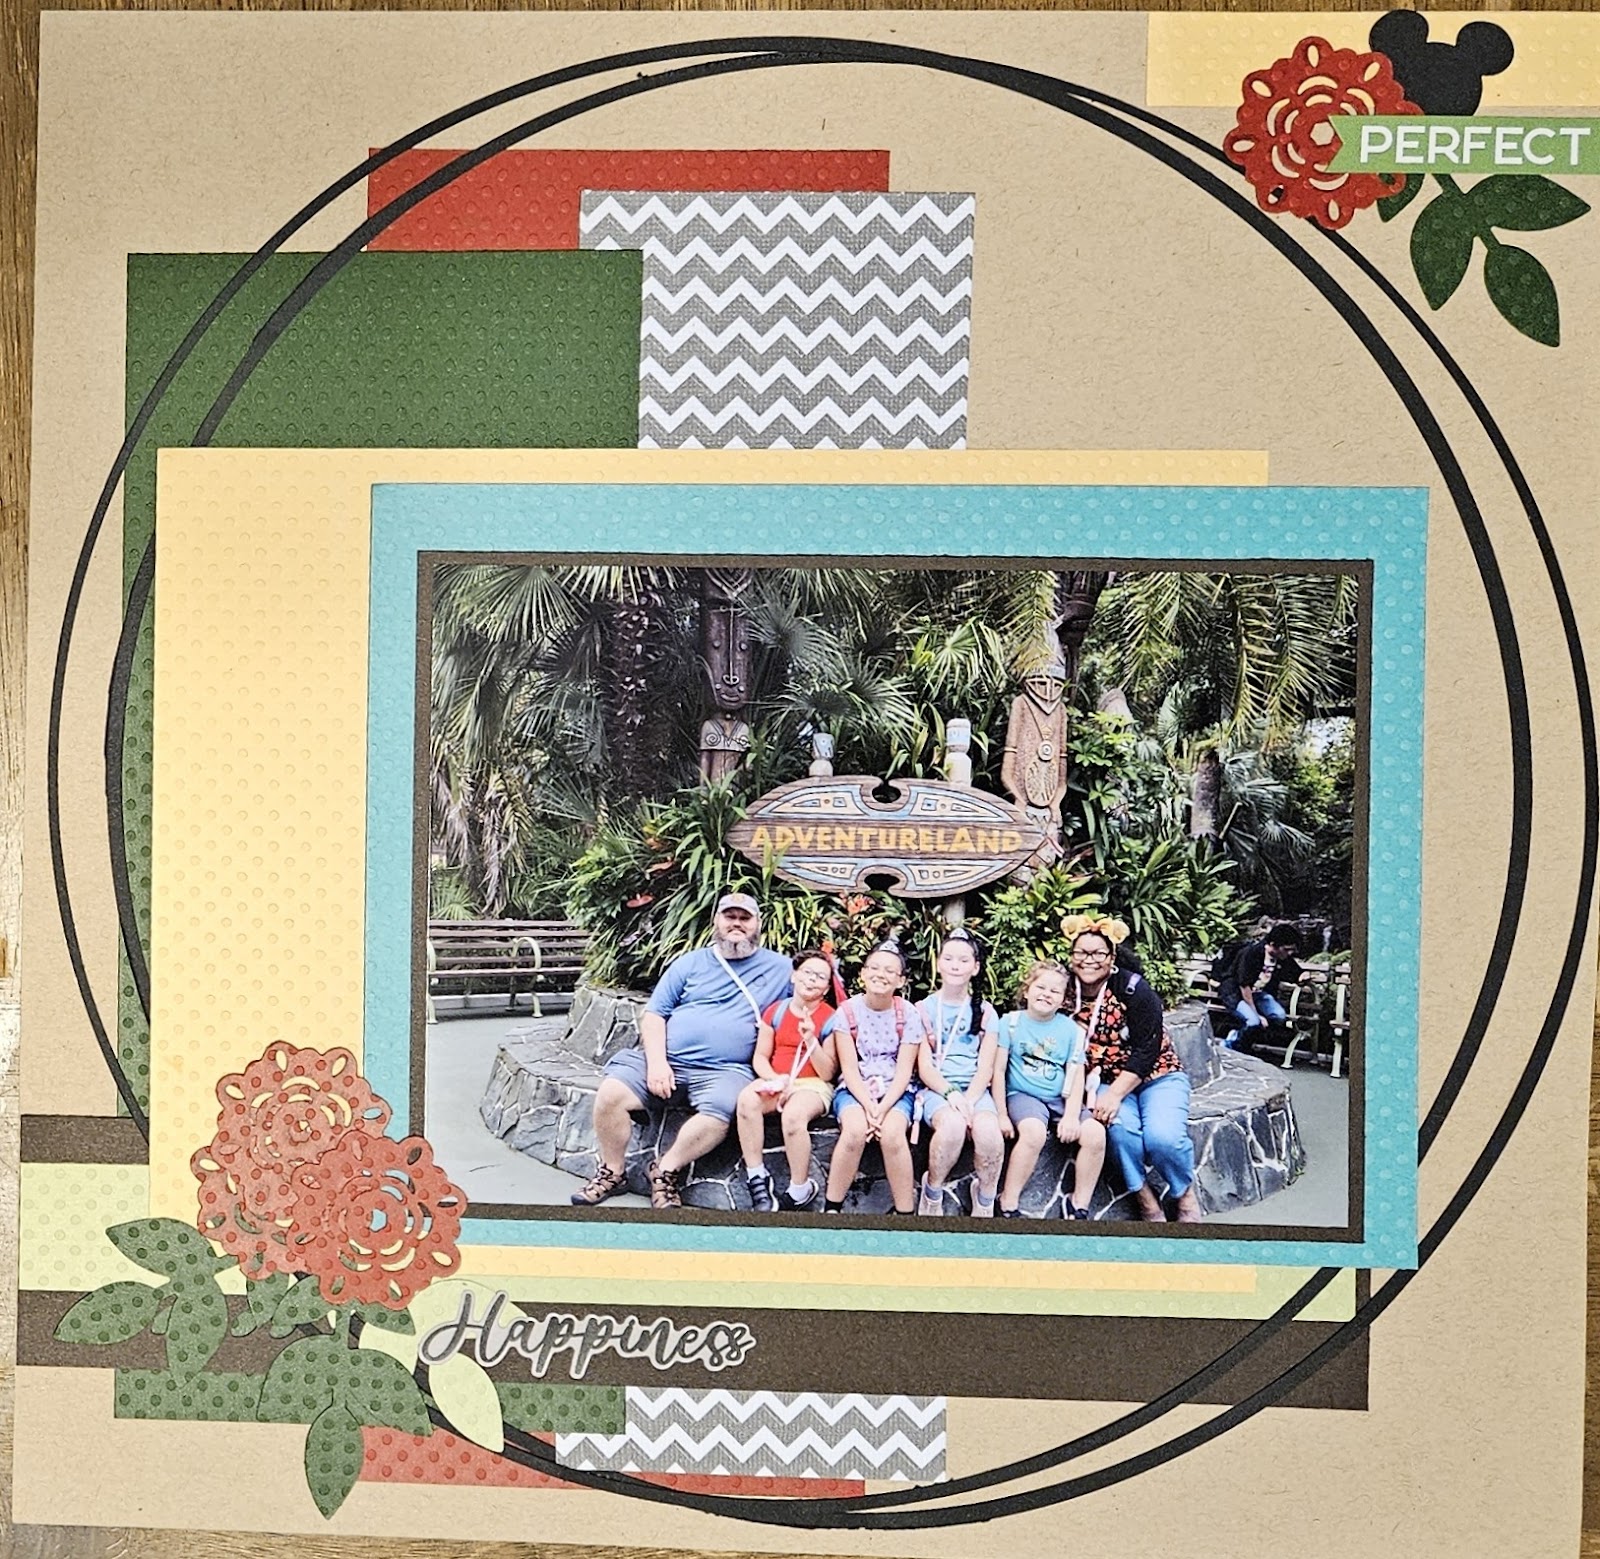
Begin by selecting a theme that captures the essence of your vacation. Whether it's a beach retreat, a cultural expedition, or an adventurous journey, having a central theme provides cohesion to your scrapbook. It helps you decide on the color scheme, embellishments, and overall layout. Generally when I scrapbook a vacation trip, it is a stand alone album with just pictures and layouts from that specific trip. I generally try to keep them separated by theme, but you certainly can mix and match various destinations or themes. Sometimes in my longer trips, I may end up with multiple albums from one trip. For instance a 5 day trip to Disney World is usually 4 albums, one for each park. There have been a few times, that, this length of trip has become 5 albums, one album for each day. Even though I have been to Disney World over 47 times, I still take a ton of pictures from my kids enjoying the atmosphere to what food we had for dinner. 

Organize Your Photos:

Sorting through your vacation photos can be overwhelming, but it's a crucial step. Group photos by events or locations to make the process more manageable. This organization will guide the flow of your scrapbook and ensure that each page tells a coherent story. Generally on a one page layout I will have 1-4 photos. Most often, the magic number is 3 for a one page layout. On a two-page layout, I will generally go with 7 photos, between the two pages. However if one photo is large, such as a 5 x 7, I may just go with 3-4 pictures between the two coordinating layouts. 

Gather Mementos:

Enhance your scrapbook by including small mementos from your trip, such as ticket stubs, postcards, or even a handful of sand from a beach. These elements add a tactile and personal touch to your pages, elevating your scrapbook from a mere photo album to a multi-sensory experience. Depending upon what the item is, sometimes I will take a back up photo of the item, just to be on the safe side in case, something happens to the original item. 


Where Can I Find Supplies to Scrapbook?

Explore Local Craft Stores:

Visit your local craft stores for a wide array of scrapbooking supplies. From patterned papers and stickers to unique embellishments, these stores are a treasure trove for any scrapbooking enthusiast. Don't hesitate to ask for assistance from store staff—they can offer valuable advice on coordinating supplies for your chosen theme. Sometimes you can still find local stores specific to scrapbooking and papercrafts, but in places that you can not, large stores such as Joann, Michaels and Hobby Lobby all have a great variety of supplies.

Online Resources:

The internet is a vast marketplace for scrapbooking materials. Numerous online retailers specialize in crafting supplies, providing convenience and a vast selection at your fingertips. Additionally, you can find digital assets like templates and design elements to enhance your scrapbooking creativity. Be sure to read reviews and check for reliable shipping options when shopping online. Some of my favorite online retailers are Kiwi Lane Designs, Creative Memories and Amazon. While I use supplies from those companies, the most, you will see that I also love many other brands such as Stampin' Up! Close to my Heart, and Echo Park. 


How Long Does It Normally Take to Scrapbook a Layout?

Set Realistic Goals:

The time it takes to complete a scrapbooking layout can vary depending on factors such as complexity, the number of photos, and your level of detail. Set realistic goals for yourself and consider breaking the process into smaller sessions to prevent burnout. Enjoy the journey of creation rather than rushing to finish. On average it takes me about 30-40 minutes to complete a two page 12 x 12 layout. That is generally if I am using templates, pre-made embellishments and basic tools. If by chance I am also cutting embellishments out with my Cricut, or using dies with a cutting machine, it may take me a bit longer, sometimes more than one scrapbooking session over a couple days. Again, take your time, it is not a race, it is meant to be a time for you to reflect on the memories you have made through your journey through life. 

Batch Processing:

Streamline your workflow by organizing your materials and tackling similar tasks in batches. For instance, cut all your paper at once, then move on to arranging photos, and finally, add embellishments. This approach can save time and maintain a consistent design throughout your scrapbook. I often create base pages ahead of time with either universal papers, colors, or patterns. That way I can go back and add the pictures and embellishments later when I have more time. 

In conclusion, embarking on a vacation scrapbooking project can be an exciting and fulfilling endeavor. Start with a clear theme, organize your photos, and gather mementos to infuse your scrapbook with personal touches. Explore local craft stores and online resources for a diverse selection of supplies, and remember to set realistic goals for a stress-free creative process. With these tips, you'll be well on your way to crafting a visually stunning and deeply meaningful keepsake of your unforgettable journey. 

Happy Scrapbooking!