Showing posts with label One-Sheet-Wonder. Show all posts

Saturday, May 19, 2018

Convention Swaps Are Underway...

I am so excited, in just a few weeks, I will be driving across the country again out west to Close to my Heart's annual convention. 
This year it is in Las Vegas!
I've been to Las Vegas, once before a few years ago, to visit my husband's family. 
While out there this year, I am going to try to spend some time with them again. 

If you have ever been to a Scrapbooking/Stamping convention, then you know swapping your handmade cards is a big deal!
Last time, I think I swapped over 100 cards. 
My goal this year is at least 50, but I am going to try to reach 100 if I can. 
So since I have such a lofty goal, I knew I needed to go ahead and get started. 
So this weekend, I didn't have much planned, so cards it is. 
Now some folks like to make all of their cards exactly the same, kind of like an assembly line. 
I personally like to make mine that way, but in small batches, then switch the colors, layout, etc. 

So today I am sharing with you my first batch.


I made 6 cards to swap at convention, and a card for a dear friend that is feeling under the weather. 
I used the One-Sheet-Wonder Technique, to create the floral print paper. 
The flowers, and leaves came from the stamp set Beautiful Friendship-Scrapbooking by Close to my Heart.
The cards are all based with the White Cards and EnvelopesValue Pack.


I used Thistle, Smoothie, and Bashful for the two-step stamped flowers and Sweet Leaf for the leaves.
Most of the cards, have the top panel of White Daisy, distressed with Pewter ink.
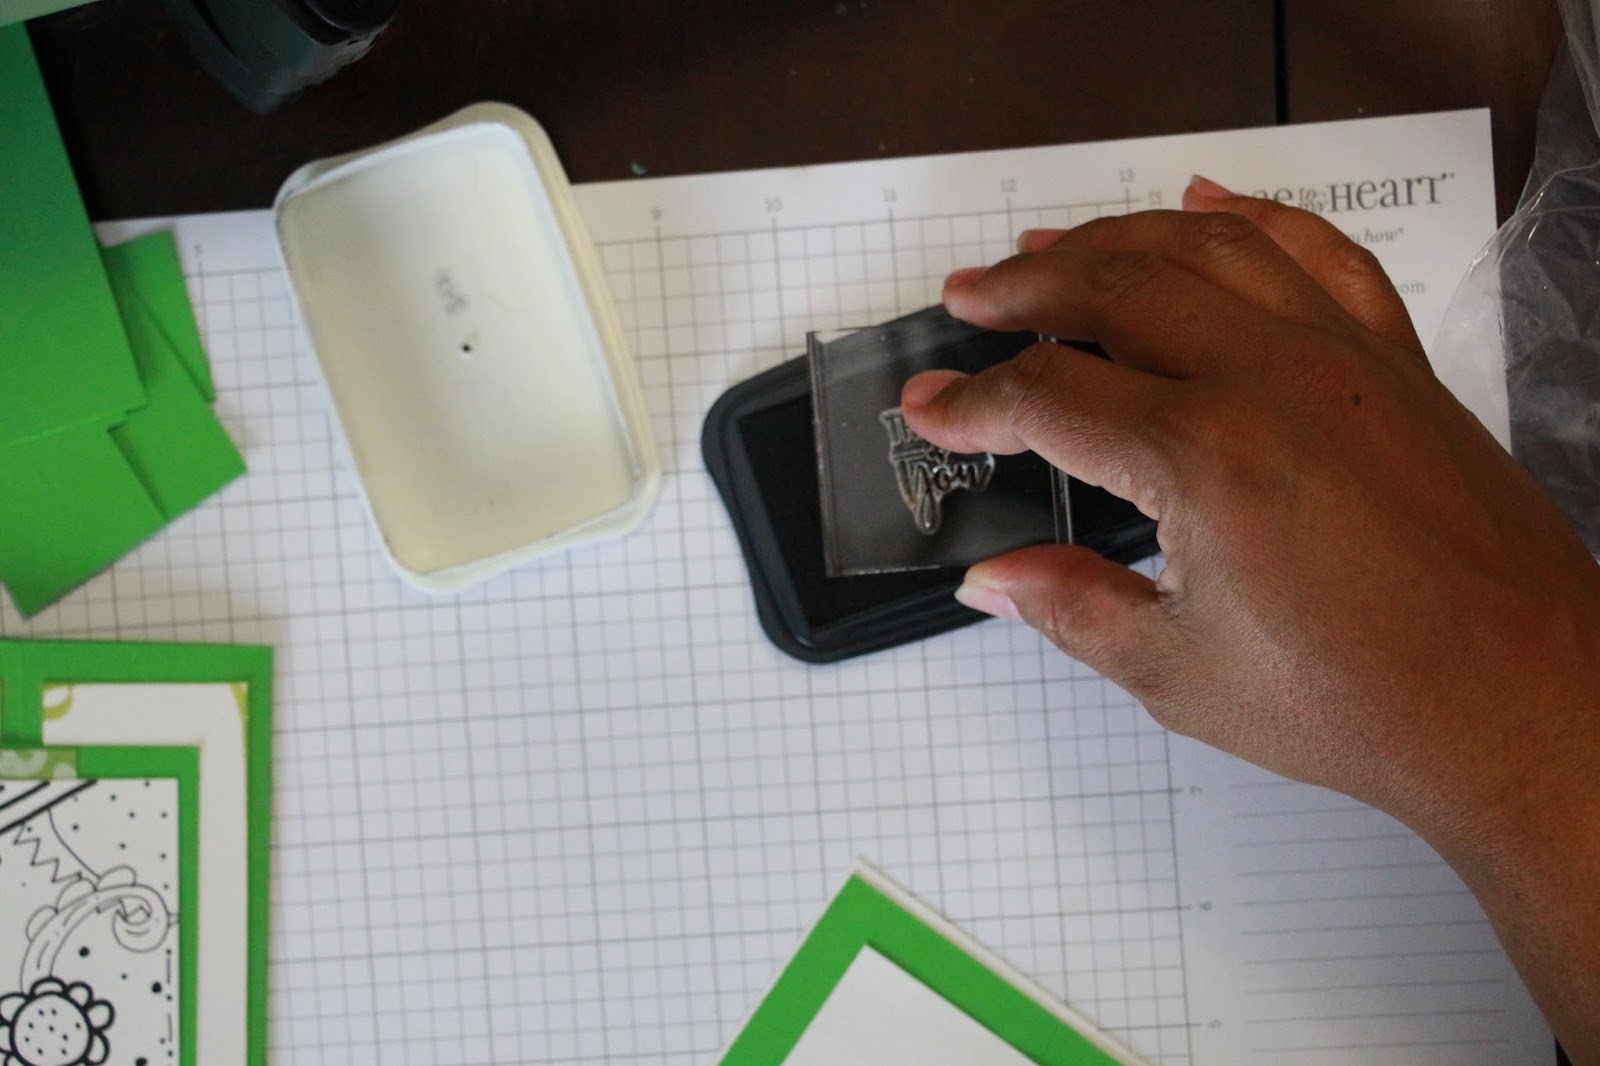
The "Life is Better With Friends"sentiment came from that same set. 
These were both stamped in Pewter ink. 


The "Simply Beautiful" sentiment came from the "A New Adventure" stamp set. 
This set is so versatile and definitely one of my personal favorites. 
I used our new Thin Cuts- Stitched Ovals and our Thin Cuts- Basic Ovals for the sentiment and them mounted it with 3-D Foam Tape.
These were stamped in Pewter on White Daisy cardstock, then layered on Bashful cardstock.


I used the Grey Gems to embellish a few of the cards.


For the card I am mailing to a friend, I used a layer of Bashful under the three panels of White Daisy I created.


The "A Beautiful Friendship" sentiment came from the "Beautiful Friendship- Scrapbooking" stamp set. 
Each panel was distressed with Pewter ink.


I will start working on my second batch in just a few minutes. 
As I create batches over the next few weeks, I will post them here on the blog to share them with you.
As always if you have any questions at all please let me know.

Saturday, July 29, 2017

A Few Quick Cards From Our Little Dreamer Paper Pack...

Tonight, I started out my cards with a 6 x 6 square of the unicorn themed paper from our Little Dreamer Paper Packet.
None of them were very elaborate by design.
I wanted to show you something simple and quick. 


I cut the 6 x 6 down, in a One-Sheet-Wonder fashion.
I then played around with the pieces, layered most of them and came up with the cards you see here.


In addition to the Little Dreamer Paper Packet, I also used some of our Fundamentals Paper Packs, Our Whimsy Two Tone Cardstock Pack, and our Say it All Stamp Set


The Say It All Stamp Set is only available until July 31st.
If you haven't purchased one, don't miss out.
The set is perfect for most any occasion and is only $13.95, not bad for 19 phrases.

Most of the sentiments were stamped with Tuxedo Black Memento Ink


"So Grateful" was stamped with the Lagoon Mini Pigment Ink Pad.
The Lagoon Mini Pigment Ink Pad is part of the Adventure Exclusive Inks Mini Pigment Pad Set.


One of the "Just For You" cards has sparkly embossing power on it.

I used VersaMark Ink to make it stick, then the Craft Heater to set the sentiment.

This particular card also has Tuxedo Black Memento Ink sponged around the edges.


Friday, July 21, 2017

One-Sheet-Wonder Thank You Card Set...


Since it's pouring outside here, what better time to stay inside and make a few cards.


I wanted to use the new Close to my Heart two-tone cardstock and two of my new stamp sets.


I made a set of 4 cards, each one slightly different but for the most part using the same main colors.


I used the Crystal Blue and Sweet Leaf colored cardstock from the two-tone Whimsy Cardstock Combo Pack


You will notice on one of the cards, I flipped the bottom strip over to the lighter side before mounting it on the card. It's just a very subtle color difference.


I used the new Delicate Flower Essentials stamp, to create the floral pattern. I essentially took the stamp and created a One-Sheet-Wonder with my Tuxedo Black Memento Ink Pad. Then I colored in just a few leaves with my ShinHan Markers


On two of the cards, I did some light sponging with the color Lagoon Mini Pigment Pad. This color is also available in our full size exclusive ink pads


The "Thank You" sentiment is from the Short & Sweet Sentiment Set. This set has 12 different sentiments, and is a great offer for only $6.95. 

The Delicate Flower Essentials Stamp is only $2.95 and will be available starting August 1st.


***My favorite card out of the group***


I also chose to enter my favorite card out of the group into a few challenges this week: 

Tuesday, July 4, 2017

Slide-Out Panel Card for a Splitcoaststampers Swap

Hope you are enjoying this beautiful summer weather, especially here in the South. 
This week, I signed up for a few swaps, and decided to enter a few challenges. 
What better way to get the job done? Combine the tasks! 

So here is a tutorial on how I created my Slide-Out Panel Card. I'm sure there are other ways to create these, but this was the easiest for me. I needed to make 8 cards focusing on the color green for the Rainbow Swap on Splitcoaststampers. Typically unless it is a requirement, I try to make the cards all sightly different. So not all 8 follow this design. 

Shall we begin?

If you follow me on my Youtube Channel, you may have seen a green card I created using hand drawn doodling. The accent piece on the front of this card, was made using that technique. The doodling on white cardstock is a great way to create your own One-Sheet-Wonder. I simply cut the doodling, then matted that piece onto a piece of green cardstock. That rectangle was then layered onto a piece of patterned paper. Total it measured about 3 3/4 inches tall and about 3 inches wide. 


After adhering each piece, I added a Rhinestone Brad and a Fabric Flower for my embellishments.


Now for the card base, I started off with my 8 1/2 inches x 11 inches cardstock in the portrait position, scoring my green cardstock at 2 1/8 inches, flip to the opposite side and score again at 2 1/8 inches. I then turn the cardstock in the landscape position and cut at 5 1/2 inches. If you have ever created a Gatefold Card, this is pretty much the same measurements.


I now have two card bases, just as if I was creating a traditional 4 1/4 inch x 5 1/2 inch card. This completed card will measure roughly the same as well. Fold on the score lines.


Next I created the front panels for the card. These are cut at about 1 3/4 inches wide by 4 inches tall. I took a marker and adding some distressing ink around the edges just for a little character. A sponge would have been nice to use as well. 


I just used regular adhesive to mount the panels to the front of the card. 


Once I mounted the panels I then mounted the accent piece for the front. Normally with a Gatefold card you just add adhesive to one side of the backside of the accent piece. With this, I added it to both sides, so that the accent piece "closed" the card. 

Next I needed to create the inside Panel, for the sentiment and space to write. Now this piece I had to play with a bit to get the measurements close to the front of the card, yet still have space for the pull tab without making it too big to fit in a regular envelope. You may have to play with this as well to ensure a fit or make your own envelope. 

 It pretty much is three layers of cardstock, two white and one green. The larger white is about 4 inches x 5 1/4 inches. The green is just slightly smaller, and the top white piece, you could make just about any size that fits within the other two. The little pull tab is about 1/2 inch-3/4 inch wide and about 2 1/4 inches long. Really this could be just about any size. Just make sure when you adhere it, the part sticking out isn't so far that you can't get the entire card into an envelope.


So far, so good, now we just need the sentiment. 


I chose to use Memento Tuxedo Black Ink. The stamp is the "Thinking of you" stamp from the Close to my Heart, Petite Perks set "Just for You". This is a stamp set, I usually give all of my hostesses free and customers that shop with me regularly. It's a cute little set with 4 different greetings.


Once you finish stamping the sentiment on the panel. Simply slide it into the case we created. 

Here is the completed card. 


I hope this tutorial was helpful, please let me know if you have any questions at all. 

This card was created to also meet the guidelines for the following challenges: